COPPER SIDING SYSTEM
As we were designing our house, Timepiece, in the mid-1990s, we found ourselves dissatisifed with extant options for cladding the building. Each type of siding seemed to have its own set of drawbacks—carbon-intensive, sensitive to damage from weather or aging, requiring of specialized (and costly) installation methods, inelegant details, the list goes on...
 1. “T” joint and window detail as installed at Timepiece.
We decided to develop a custom siding system that would answer to these manifold concerns.
Inspired by the elemental elegance of a metal-clad garage structure in our neighborhood, we imagined a system that would clad the entire exterior of the structure in beautiful, durable, and naturally weathering copper—without the use of any of the specialized labor or tools associated with conventional metal siding systems.
We developed prototypes in collaboration with Martin Roofing, a local roofing contractor. What emerged from these explorations was a system of copper siding lengths joined by “T” joints and corner components with an anchor-and-cap construction.1
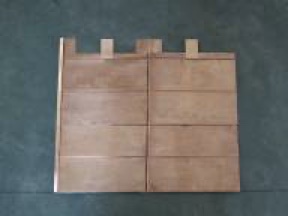
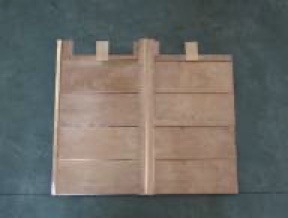
While initial versions of the system utilized flat copper panels,2 the final design features siding lengths that are folded to avoid denting of the naturally malleable copper during installation and use.3 These siding lengths can be divided at will, according to aesthetic criteria and/or the physical limits of the materials used.
Control joints between components allow for expansion and contraction and enable any gaps and raw panel edes to be hidden under a finished capped appearance. The components also allow for water drainage in case of moisture infiltration, and can be easily disassembled and reassembled in case of repairs or renovation.4
Framers were able to install the system with no specialized training or tools, using the basic skills of cutting materials to length and installing nails, screws, nuts and bolts using readily available tools.5, 6
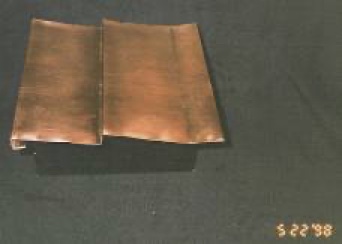 3. 1998 prototype of folded copper siding panel.
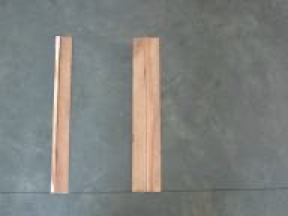
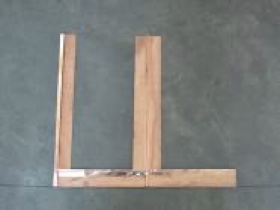
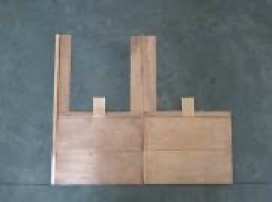
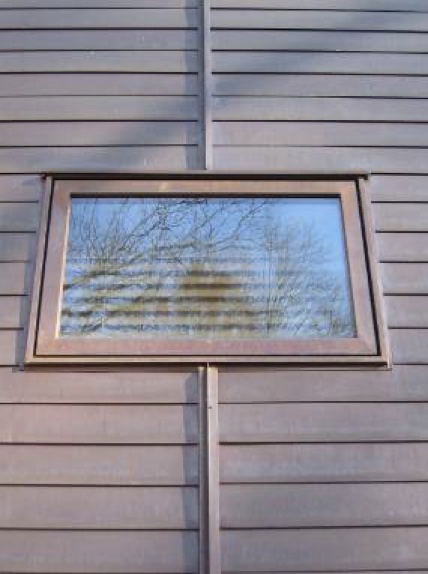 5. “T” joint as installed at Timepiece.
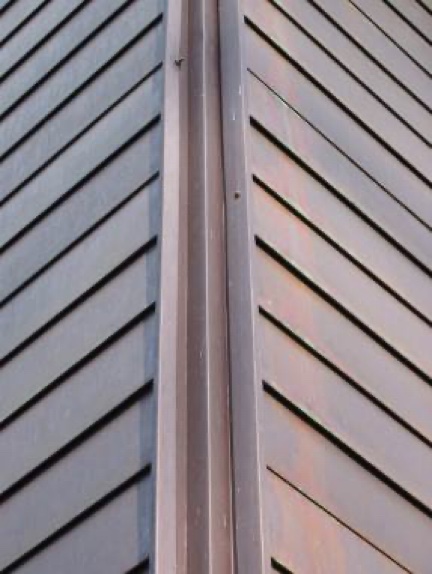 6. Corner joint assembly as installed at Timepiece.